We designed our yo-yo around the Wheel of Fortune - hence our team name! Here are a few pictures of our yo-yo
 |
| Back Face of the Yo-yo has the name of our yo-yo, in the letter format of its namesake gameshow |
 |
| Side View |
 |
| Front Face of Yo-yo contains a spinning disk that will look like the Wheel. The image of the wheel will be printed on a sticker |
 |
| Exploded View |
1. Retaining Ring (Injection Mold) - This piece is press-fit into the yo-yo body and keeps the thermoformed cover in place.
 |
| Retaining Ring, Pressfit into yo-yo body |
2. Yo-yo Cover (Thermoform) - This piece is thermoformed, cut on a die, and placed on a ledge on the yo-yo body.
3. Press Ring (Lasercut) - The press ring sits on the spin-stick, and it keeps the wheel of fortune from popping off. It is press fit on top of the spin stick. The picture below shows the spin stick and press ring. The wheel of fortune would go in the space in between to spin.
 |
| Picture of Spin Stick and Press Ring |
4. Wheel of Fortune (Lasercut) - The wheel of fortune spins between the spin stick and press ring. The wheel consists of a lasercut disk, on which a sticker of the wheel of fortune is placed.
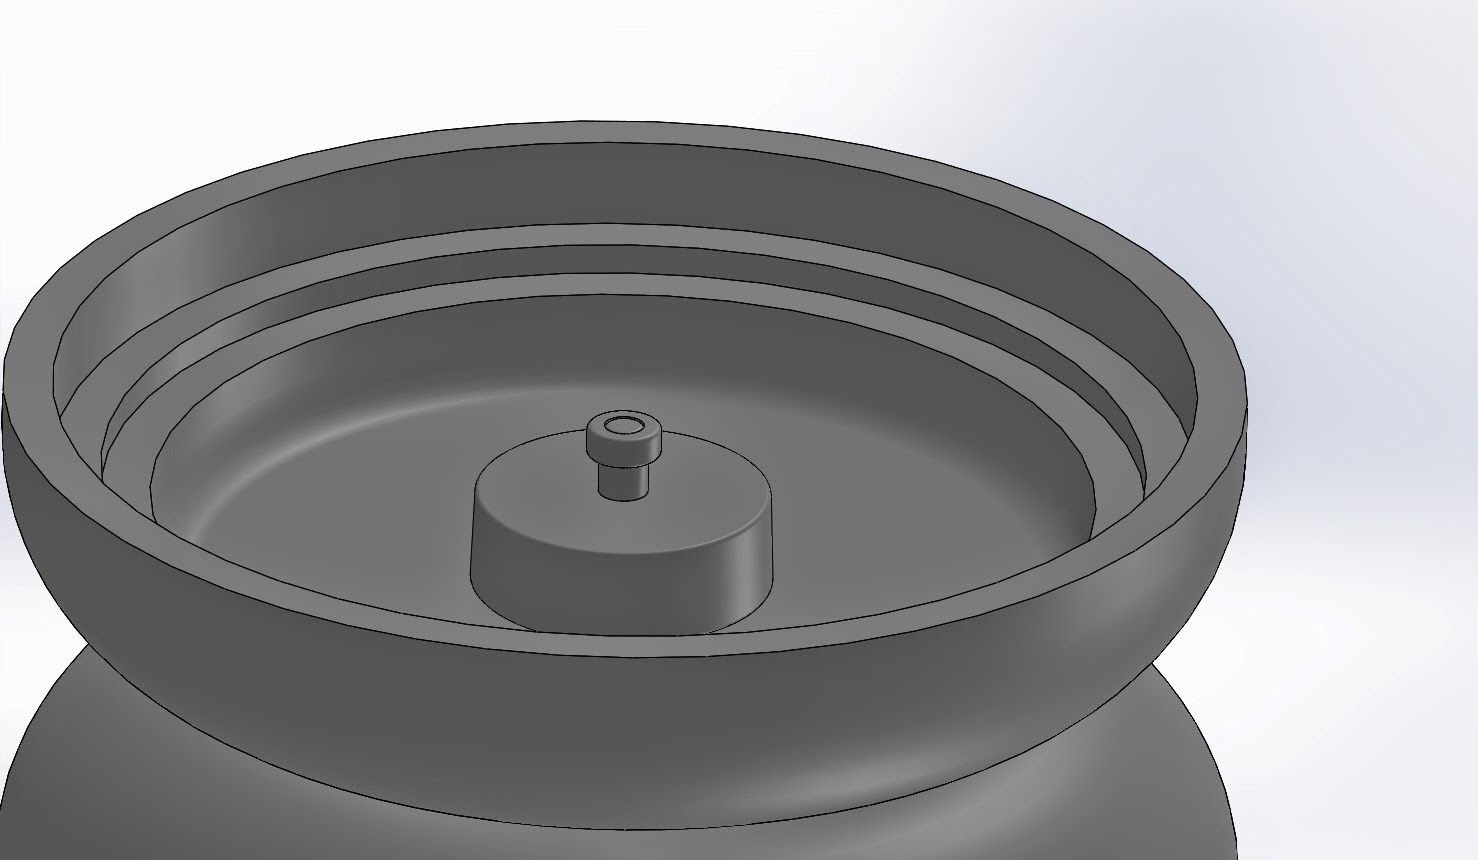
5. Spin Stick (Injection Mold) - picture below. This piece is injection molded, The spin stick is pres fit into the yo-yo body.
 |
| Spin Stick |
6. Yo-Yo Body (Injection Mold) - the body contains a place for press-fitting the spin stick and a ledge for press-fitting the back piece and the Retaining Ring.
 |
| Yo-yo Body |
7. Attachment between Yo-yo- bodies : This consists of the screw that wholes the two body pieces together
8. Yo-Yo Body (Injection Mold) - 2nd piece
9. Back Piece (Injection Mold + Overmolding) - This piece is overmolded, featuring different colors to write out the words "Wheel of Fortune"
10. Yo-yo Cover (Thermoform) - 2nd piece
11. Retaining Ring (Injection Mold) - 2nd piece
We incorporated principles of design for manufacturing into the features of the parts:
- In the CAD model of the injection molded pieces, we put fillets on the sharp edges, to make sure that the part slides out easier
- We put draft angles of 1 degree on the sides of the yo-yo body to ensure that the injection molded part doesn't get stick
- We incorporated press-fits into our design and ensured that only the sides of those press-fitted pieces were 90 degrees
Table of Specs: A table of specifications for the Yo-yo design was made, with critical dimensions of the components and assembly. It can be found here.
Gantt Chart: We also created a Gantt Chart to schedule the design and manufacturing of our yoyo. You can see the chart here.


No comments:
Post a Comment